Build Your First Dashboard
Estimated reading time: 15 minutes
You have connected a data source and want to see your data visually. This tutorial walks through creating a dashboard using the five-step Dashboard Builder wizard.
Prerequisites
- A clariBI account (any tier, including trial)
- At least one connected data source with synced data
- Basic familiarity with the clariBI interface
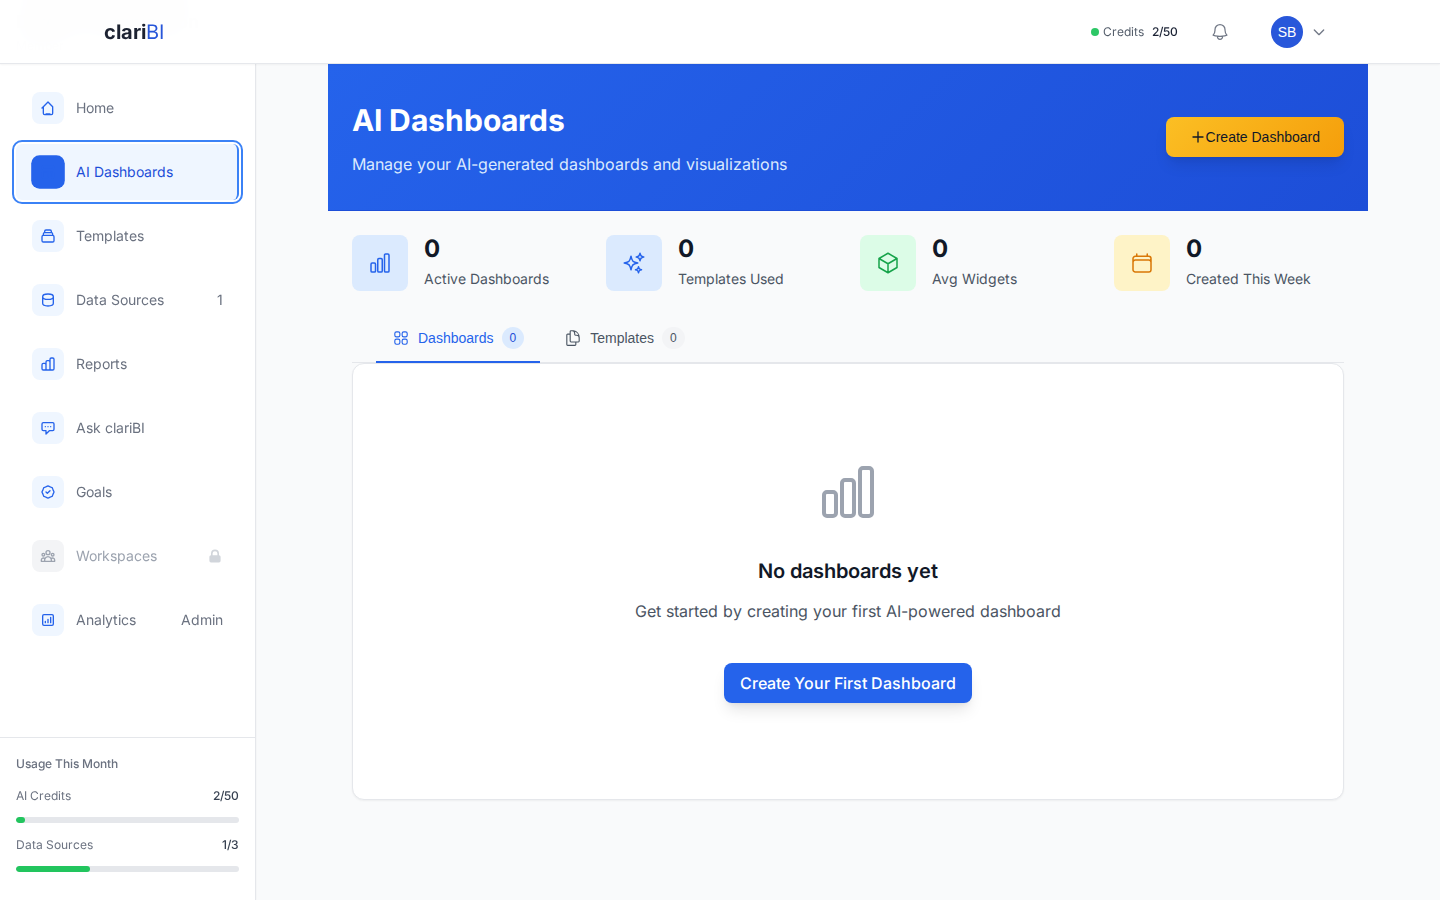
Navigate to AI Dashboards in the sidebar and click Create Dashboard. The Dashboard Builder wizard opens with five steps:
Step 1: Select Data Sources
Choose one or more data sources for your dashboard. You can designate one as the primary source and add secondary sources if you want to combine data. You must select at least one data source to proceed.
Step 2: Choose Business Domain
Select your industry or business domain (e.g., SaaS, E-commerce, Marketing, Finance). This helps the AI recommend relevant metrics and chart types for your dashboard.
Step 3: Define Metrics
Select and customize the metrics you want to track. You can choose from predefined metrics suggested by the AI based on your domain, or define custom metrics with your own formulas. Each metric maps to a data source field and a visualization type (metric card, bar chart, line chart, etc.). You need at least one metric to continue.
Step 4: Design Layout
Arrange your widgets on a 4-column grid. Each widget has a position (row and column) and a size (width and height). You can drag widgets to reposition them and resize by adjusting their grid span. A typical layout puts 2-3 KPI metric cards across the top row with larger charts below. You need at least one widget placed on the grid to proceed.
Step 5: Deploy
Give your dashboard a name and optional description. Configure the refresh frequency (default: daily) and whether to share it with your workspace. Click Deploy to create and launch your dashboard.
Pro Tip
Not sure what metrics to track? Use Ask clariBI first - ask "What are the key metrics for my sales data?" The AI will suggest relevant metrics and chart types you can then use in the dashboard builder.
Understanding Widget Limits
Each dashboard supports approximately 15-20 widgets depending on the complexity of visualizations used. Simple widgets like metric cards take fewer resources than complex heatmaps or data tables, so a dashboard of all metric cards could hold more widgets than one full of advanced charts.
The AI recommendation system caps at 15 widgets per dashboard to keep layouts readable and performant.
Editing Widgets After Deployment
After your dashboard is live, you can edit individual widgets, add new ones, or rearrange the layout. Open a dashboard and click the edit icon to re-enter the builder. The 24+ available widget types include metric cards, gauges, bar/line/pie/area charts, scatter plots, heatmaps, tables, and more. See Widget Types Reference for the full catalog.
Sharing Your Dashboard
Once saved, you can share your dashboard with teammates via the Share button. On Professional and Enterprise plans, you can also generate a public link that anyone with the URL can view without logging in. See Dashboard Sharing.
Next Steps
- Explore All 24+ Widget Types
- Set Up Auto-Refresh
- Generate Your First Report
- Dashboard Builder Deep-Dive
Well done
You have built a dashboard with KPI cards, charts, and a data table. As your data updates, the dashboard refreshes to show the latest numbers.
Ready to try clariBI?
Start for free or begin a 14-day trial with full AI-powered analytics. No credit card required.