Connecting Your Data
Estimated reading time: 10 minutes
Before clariBI can analyze anything, it needs access to your data. This guide covers the three main ways to connect: databases, files, and cloud services.
Data Source Limits by Plan
- Free ($0): 3 sources, 1 GB storage, 5 file uploads. No MCP catalog, no AI credits.
- Trial (14 days): 3 sources, 1 GB storage, 5 file uploads, 40 OCR pages. Full MCP catalog + 50 AI credits.
- Lite ($19/mo): 5 sources, 2 GB storage, 10 file uploads. Manual dashboards only, with no MCP catalog and no AI credits.
- Starter ($99/mo): 10 sources, 5 GB storage, 50 file uploads, 100 OCR pages. Full MCP catalog + 500 AI credits.
- Professional ($199/mo): 50 sources, 10 GB storage, 500 file uploads, 200 OCR pages. Adds team workspaces, RBAC, scheduled reports, API access.
- Enterprise ($999/mo): 100 sources, 100 GB storage, 5,000 file uploads, 2,000 OCR pages. Adds SAML SSO + audit log export.
See Subscription Plans for the full feature matrix.
Method 1: Connect via the MCP Catalog (Trial / Starter+)
The fastest way to get a real business tool into clariBI. The MCP catalog covers 90+ vendors today: Stripe, HubSpot, Linear, Notion, GitHub, Atlassian, PostHog, Klaviyo, Sentry, Vercel, Supabase, Airtable, Mixpanel, Amplitude, Intercom, and more.
- Go to Settings → Data Sources and click Connect MCP.
- Pick a vendor from the catalog (each shows a "Live via MCP" badge).
- A popup opens to the vendor's authorization screen. Click Allow.
- clariBI exchanges the auth code for a token, encrypts it, and stores it. The source is now live.
OAuth 2.1 with Dynamic Client Registration means clariBI registers itself with each MCP server, so there is no developer console, no API keys, and no copy-pasting. Read-only by design. Available on Trial / Starter / Professional / Enterprise (not Free or Lite).
Method 2: Upload Files (every tier)
For data without a live source. Go to Data Sources and click Add New Source, then choose File Upload. Supported formats:
- CSV - comma-separated values, the most common format
- Excel (.xlsx, .xls) - workbooks with multiple sheets
- JSON - structured data files
- PDF - document analysis with OCR
- TXT - plain text data files
Drag your file onto the upload area or click to browse. clariBI automatically detects column types, headers, and data formats. Upload completes in seconds for files under 100 MB.
Pro Tip
For CSV files, make sure the first row contains column headers. clariBI uses headers to understand your data structure. Files without headers will have columns named "Column 1", "Column 2", etc.
Method 3: Connect a Database
For live, continuously updated data, connect a database directly. Go to Data Sources, click Add New Source, and select your database type:
| Database | Required Info |
|---|---|
| PostgreSQL | Host, port (5432), database name, username, password |
| MySQL | Host, port (3306), database name, username, password |
| SQLite | Database file path |
| MongoDB | Host, port (27017), database name, username, password |
After entering credentials, click Test Connection to verify clariBI can reach your database. If the test passes, click Save. clariBI will run an initial sync to catalog your tables and columns.
Firewall Note
If your database is behind a firewall, you will need to whitelist clariBI's IP address. Contact support for the current IP range.
Method 4: Native OAuth Cloud Services
Connect cloud platforms through OAuth or API keys:
- Google Analytics - OAuth flow, select property and views
- Google Sheets - OAuth flow, select specific spreadsheets
- REST APIs - custom API endpoint with configurable headers and authentication
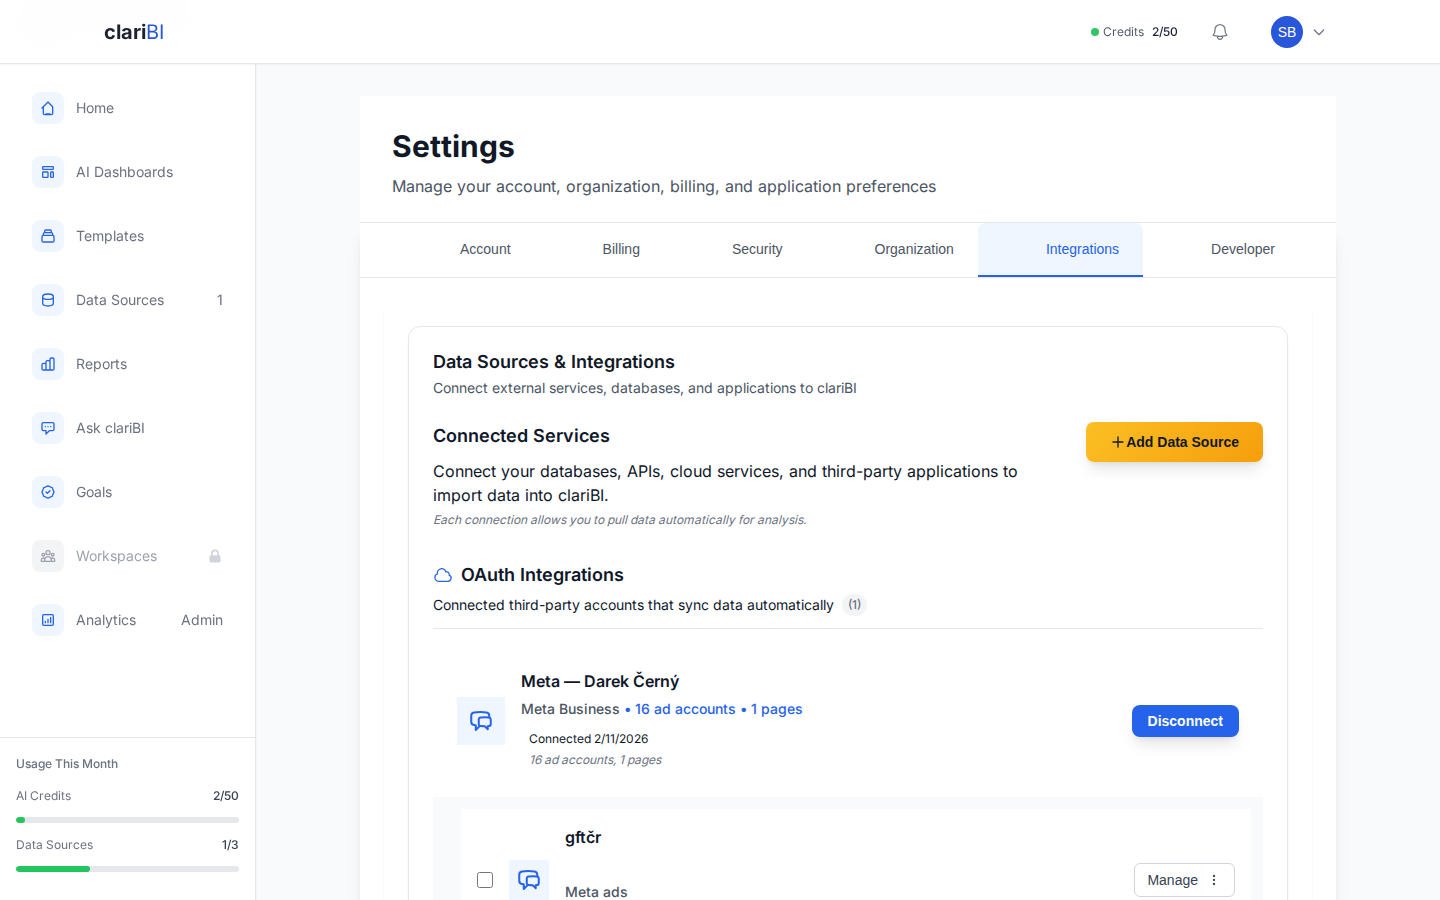
- Meta (Facebook) Ads - OAuth flow for ad performance data
- Jira / Confluence - API token authentication
See Data Sources Overview for the full list of supported data source types.
After Connecting
Once a data source is connected and synced:
- It appears in the Data Sources list with a green "Connected" status
- It becomes available as an option when creating dashboards, reports, or asking questions in Ask clariBI
- You can trigger manual syncs from the Data Sources page
Troubleshooting Common Issues
If your connection fails:
- Connection timeout - check that the host is reachable and the port is correct
- Authentication failed - verify username and password; ensure the user has read access
- SSL required - toggle the SSL option in the connection form
- File parsing error - check that CSV files use UTF-8 encoding and consistent delimiters
For more details, see Data Source Troubleshooting.
Next Steps
Ready to try clariBI?
Start for free or begin a 14-day trial with full AI-powered analytics. No credit card required.