What You Need Before You Start
All you need is a valid email address. clariBI offers a free 14-day trial with no credit card required, so you can explore the platform before committing to a paid plan.
During the trial you get:
- 1 user seat
- 50 AI credits
- 3 data source connections
- Access to core dashboards, reports, and conversational analytics
Step 1: Register Your Account
Go to claribi.com and click Get Started Free. Fill in your name, work email, and a strong password (minimum 8 characters, at least one number and one special character).
Click Create Account. A verification email is sent immediately.
Trouble Receiving the Email?
- Check your spam or junk folder.
- Corporate mail filters sometimes delay delivery by a few minutes.
- If it still has not arrived after five minutes, click Resend Verification Email on the confirmation screen.
Step 2: Verify Your Email
Open the email from clariBI and click the verification link. The link is valid for 24 hours. Once verified, you are redirected into the app.
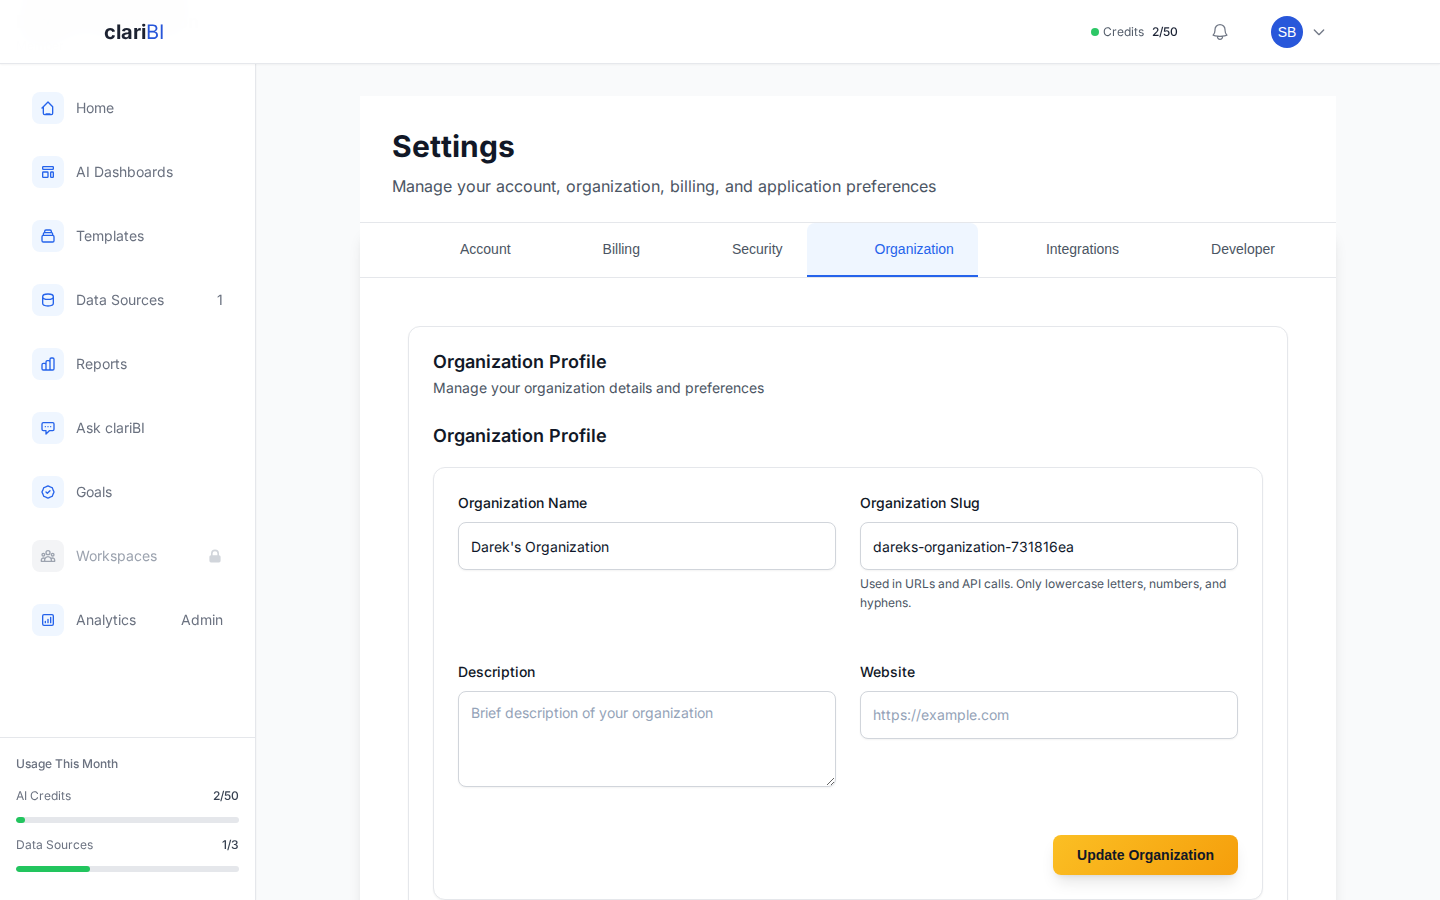
Step 3: Create Your Organization
Every clariBI account belongs to an organization. After email verification the setup wizard asks you to:
- Name your organization -- use your company or team name.
- Choose your industry -- this helps clariBI suggest relevant analysis templates later.
- Set your time zone -- reports and scheduled jobs use this setting.
Step 4: Walk Through the Onboarding Wizard
The onboarding wizard guides you through three quick tasks:
Connect a Data Source
You can connect a database (PostgreSQL, MySQL), upload a file (CSV, Excel, PDF), or link a cloud service (Google Analytics, Google Sheets, Jira, and more). If you are not ready, click Skip for Now -- you can always connect sources later from the Data Sources page.
Run Your First Analysis
Once data is connected, clariBI suggests a starter analysis based on your data shape. Click Run Analysis to see AI-generated insights. This consumes one AI credit.
Explore the Dashboard
The wizard drops you onto the Home Dashboard with a brief guided tour highlighting the sidebar navigation, the AI chat panel, and the quick-action buttons.
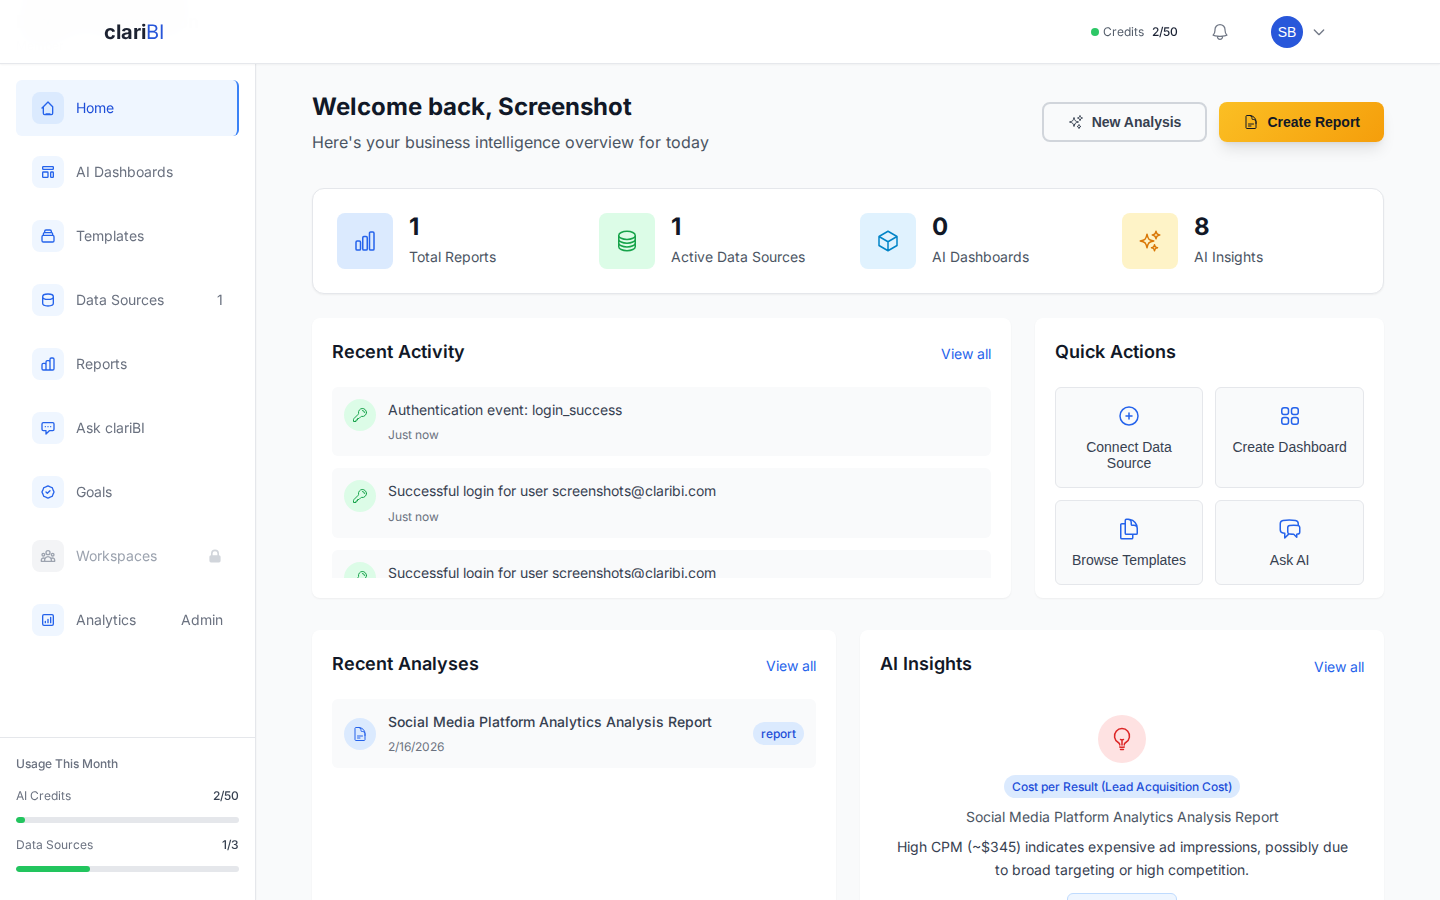
What Happens After Onboarding
- Your Home Dashboard shows a welcome card with suggested next steps.
- The sidebar gives you quick access to Dashboards, Reports, Data Sources, Conversational Analytics, and Settings.
- Your 14-day trial clock starts the moment you create the account, not when you finish onboarding.
For a deeper look at the Home Dashboard, see Understanding the Home Dashboard.
Inviting Team Members
On the Starter plan and above, you can invite colleagues to join your organization. Go to Settings > Team Management and click Invite Member. Enter their email address and choose a role:
| Role | Permissions |
|---|---|
| Administrator | 29 permissions -- manage users, data sources, and settings |
| Analyst | 14 permissions -- run analyses, create reports and dashboards |
| Member | 8 permissions -- view and interact with existing content |
| Viewer | 6 permissions -- read-only access |
Invited users receive an email with a link to accept the invitation and create their own password.
Upgrading from Trial
When you are ready for more capacity, visit Settings > Billing or see Plans and Pricing for a full comparison of Starter, Professional, and Enterprise tiers.
Security During Setup
clariBI uses HTTPS for all connections and encrypts your password using industry-standard hashing. After completing onboarding, we recommend enabling multi-factor authentication (MFA) in Settings > Security. This adds a TOTP code from an authenticator app as a second login step.
See full documentation for additional setup options.