Overview
Multi-factor authentication (MFA) adds a second layer of security to your clariBI account. After entering your password, you also enter a time-based one-time password (TOTP) from an authenticator app on your phone. Even if someone learns your password, they cannot log in without your phone.
clariBI supports TOTP-based MFA through any compatible authenticator app. SMS-based MFA is not available.
Compatible Authenticator Apps
Any TOTP-compatible authenticator app works with clariBI. Popular options include:
| App | Platform | Notes |
|---|---|---|
| Google Authenticator | iOS, Android | Simple, widely used |
| Authy | iOS, Android, Desktop | Cloud backup, multi-device sync |
| Microsoft Authenticator | iOS, Android | Also supports push notifications |
| 1Password | iOS, Android, Desktop | Built into the password manager |
| Bitwarden | iOS, Android, Desktop | Built into the password manager |
If you do not have an authenticator app installed, download one before starting the setup.
Setting Up MFA
Step 1: Open Security Settings
- Click your profile avatar in the top-right corner.
- Select Settings.
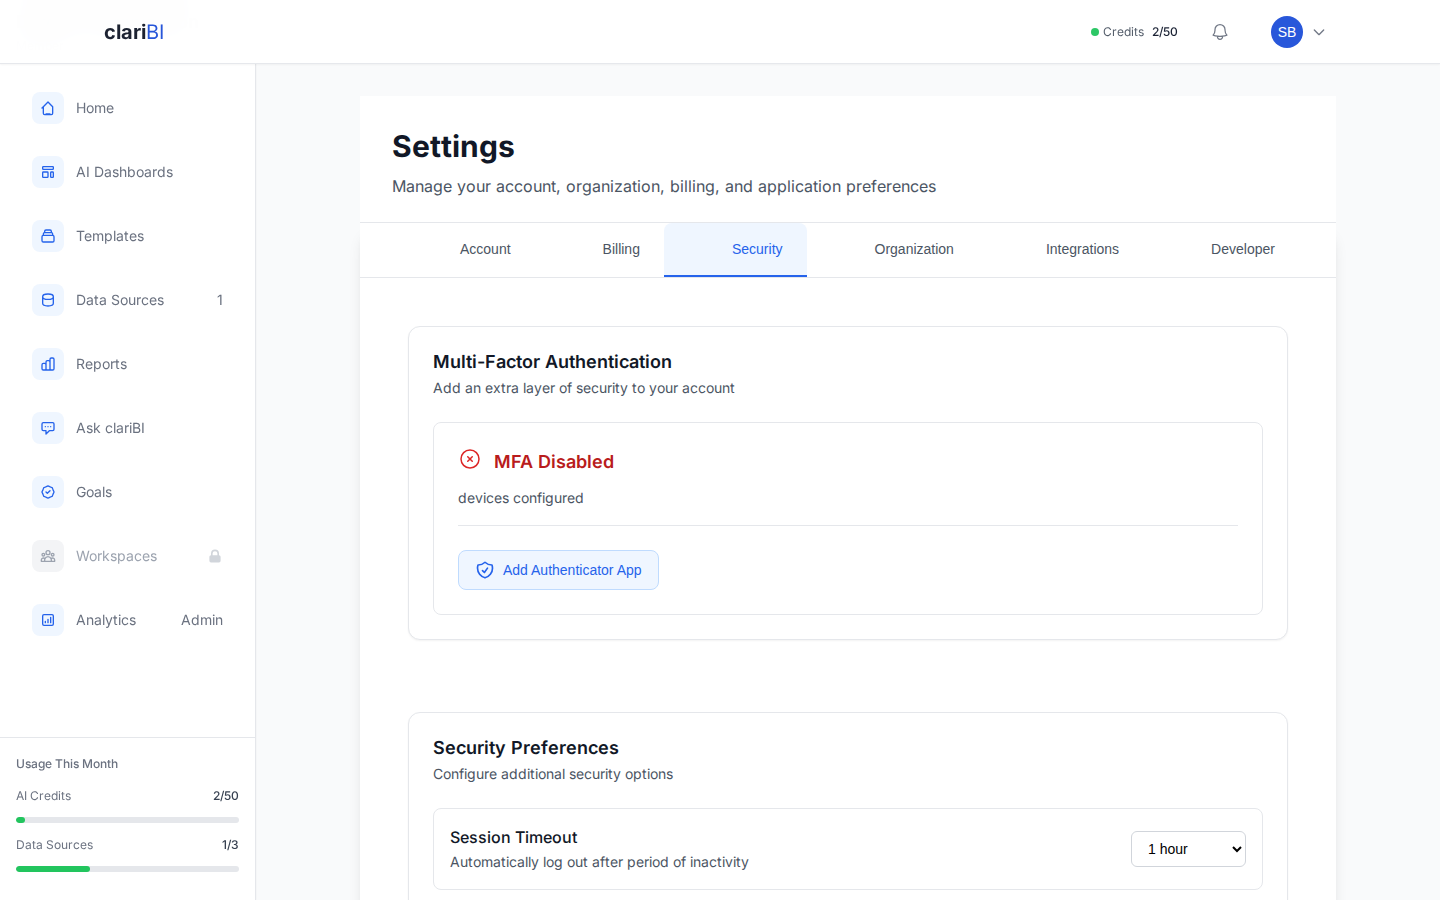
- Click Security in the left sidebar.
- Find the Multi-Factor Authentication section.
- Click Enable MFA.
Step 2: Scan the QR Code
clariBI displays a QR code and a text-based secret key.
Using the QR code: 1. Open your authenticator app. 2. Tap the "+" or "Add Account" button. 3. Select "Scan QR Code." 4. Point your phone's camera at the QR code on screen. 5. The app adds a new entry labeled "clariBI (your-email@example.com)."
Using the secret key (if you cannot scan): 1. In your authenticator app, choose "Enter manually" or "Enter setup key." 2. Copy the text-based secret key from the clariBI screen and paste it into the app. 3. Set the account name to "clariBI" and the type to "Time-based."
Step 3: Verify Your First Code
- Your authenticator app now shows a 6-digit code that changes every 30 seconds.
- Enter the current code in the Verification Code field on the clariBI screen.
- Click Verify and Enable.
If the code is accepted, MFA is now active on your account. If it is rejected, wait for the code to refresh and try the new one. Make sure your phone's clock is accurate -- TOTP codes depend on synchronized time.
Step 4: Save Your Backup Codes
After enabling MFA, clariBI generates 10 backup codes. These are single-use codes that let you log in if you lose access to your authenticator app.
Important: - Each backup code can only be used once. - Store them in a secure location: a password manager, a printed sheet in a safe, or an encrypted file. - Do not store backup codes in the same place as your password. - If you run out of backup codes, you can generate a new set from Security Settings (this invalidates all remaining old codes).
Click Download Codes to save them as a text file, or Copy to Clipboard to paste them into your password manager.
Logging In with MFA
After MFA is enabled, the login flow adds one step:
- Enter your email and password as usual.
- On the MFA screen, enter the 6-digit code from your authenticator app.
- Click Verify.
The code changes every 30 seconds. If the current code is about to expire (the timer in your app is almost at zero), wait for the next code.
Using a Backup Code
If you do not have access to your authenticator app:
- On the MFA screen, click Use a backup code.
- Enter one of your saved backup codes.
- Click Verify.
The used backup code is permanently invalidated. If you are running low on backup codes, generate a new set after logging in.
Managing MFA
Regenerating Backup Codes
- Go to Settings > Security > Multi-Factor Authentication.
- Click Regenerate Backup Codes.
- Enter your current password to confirm.
- Save the new codes. All previous backup codes are invalidated.
Disabling MFA
- Go to Settings > Security > Multi-Factor Authentication.
- Click Disable MFA.
- Enter your current password and a valid TOTP code to confirm.
After disabling, you can re-enable MFA at any time by repeating the setup process.
Switching Authenticator Apps
If you switch phones or want to use a different authenticator app:
- Disable MFA on your clariBI account.
- Set up the new authenticator app.
- Re-enable MFA and scan the new QR code with the new app.
There is no way to transfer the existing TOTP secret between apps through clariBI. You must disable and re-enable.
Troubleshooting
"Invalid Code" Error
- Make sure your phone's clock is set to automatic. TOTP codes require accurate time synchronization.
- Wait for the next 30-second code cycle and try again.
- If you recently changed time zones, give your phone a moment to sync.
Lost Phone
Use one of your saved backup codes to log in, then:
- Disable MFA from Security Settings.
- Set up MFA again with your new phone or replacement authenticator app.
- Generate new backup codes.
If you have no backup codes and no access to your authenticator app, contact your organization's Owner or Administrator. They can reset MFA for your account from the admin panel.
MFA Required by Organization
Organization Owners and Administrators can enforce MFA for all members. If MFA is required, you see a setup prompt after login and cannot access the platform until MFA is enabled.