Overview
clariBI connects to Meta Ads (formerly Facebook Ads) through OAuth, giving you direct access to your advertising data without manual exports. Once connected, you can build dashboards, generate reports, and use AI analytics to understand your ad performance.
This guide covers the OAuth setup process, the metrics available, and how to start analyzing your ad data.
Prerequisites
Before connecting, make sure you have:
- An active clariBI account on Starter or above (Trial plans support up to 3 data sources)
- Analyst role or above in your clariBI organization (Viewers and Members cannot create data sources)
- An active Meta Ads account with at least one campaign
- Admin or standard access to the advertising account you want to connect
Connecting Meta Ads
Step 1: Start the Connection
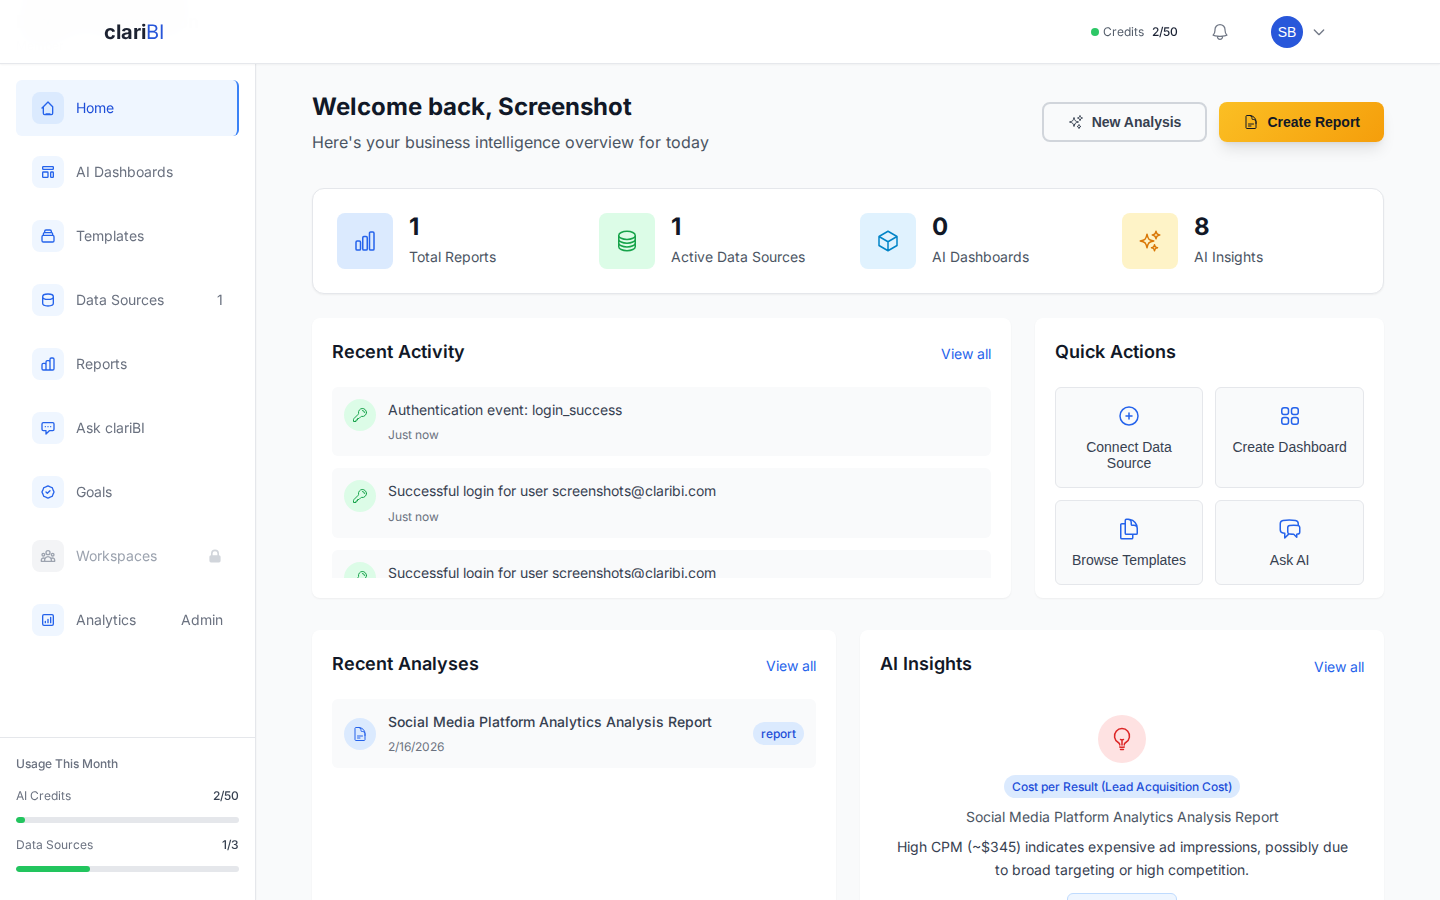
- Go to Data Sources in the left sidebar.
- Click Add Source.
- Select Meta Ads as the data source type.
Step 2: Authorize with Meta
- Click Connect with Meta.
- A Meta login window opens. Sign in with your Facebook account.
- Review the permissions:
- Access your ad account data -- Read-only access to campaigns, ad sets, ads, and metrics
- Access your Page and app information -- Used to identify your connected assets
- Click Continue as [Your Name].
- Select the ad accounts you want to share with clariBI. You can select all or choose specific ones.
- Click Done, then OK to confirm.
Like Google Ads, clariBI requests read-only access. It cannot create, modify, or pause your campaigns.
Step 3: Select Your Ad Account
If your Meta Business account manages multiple ad accounts:
- Select the ad account(s) you want to connect.
- Click Continue.
Step 4: Configure Sync Settings
- Sync frequency: Hourly, every 6 hours, daily, or weekly.
- Historical data: Last 30 days, 90 days, 6 months, or 1 year.
- Attribution window: Choose the attribution model Meta uses to count conversions -- 1-day click, 7-day click (default), 1-day view, or 7-day click + 1-day view.
- Click Save and Sync.
Meta Ads Metrics Available
| Category | Metrics |
|---|---|
| Performance | Impressions, Reach, Frequency, Clicks, CTR, CPC, CPM, Amount Spent |
| Engagement | Post Reactions, Post Comments, Post Shares, Page Likes, Event Responses |
| Conversions | Purchases, Leads, Add to Cart, Initiate Checkout, Complete Registration, Cost Per Result |
| Video | ThruPlays, Video Watches at 25/50/75/95%, Average Play Time |
| App | App Installs, App Engagement, Cost Per Install |
Metrics are available at the campaign, ad set, and ad level. Breakdowns by age, gender, placement, device, and country are supported.
Building Ad Performance Dashboards
Once your ad data is synced, you can build dashboards to track ad performance.
Ad Performance Dashboard
- Create a new dashboard.
- Add a KPI widget showing total ad spend.
- Add a bar chart comparing conversions by campaign.
- Add a line chart showing CPC trends over time.
- Add a table widget with your top 10 campaigns ranked by ROAS (Return on Ad Spend).
Using AI to Analyze Ad Data
With your ad data connected, try these conversational AI queries:
- "Which Meta Ads campaign had the lowest cost per conversion last month?"
- "Compare our Meta Ads CPM across all placements this quarter"
- "Show me week-over-week trends in our ad spend"
- "What is our ROAS for the last 90 days?"
Each query costs 1 AI credit. See AI Credits: How They Work for details.
Managing Ad Connections
Re-Authenticating
OAuth tokens expire periodically. When a token expires, clariBI shows a warning on the data source and pauses syncing.
To re-authenticate:
- Go to Data Sources.
- Find the affected data source (it shows an "Authentication Required" badge).
- Click Re-authenticate.
- Complete the OAuth flow again.
Google Ads tokens typically expire after a few months. Meta Ads tokens expire after 60 days unless you have granted long-lived access.
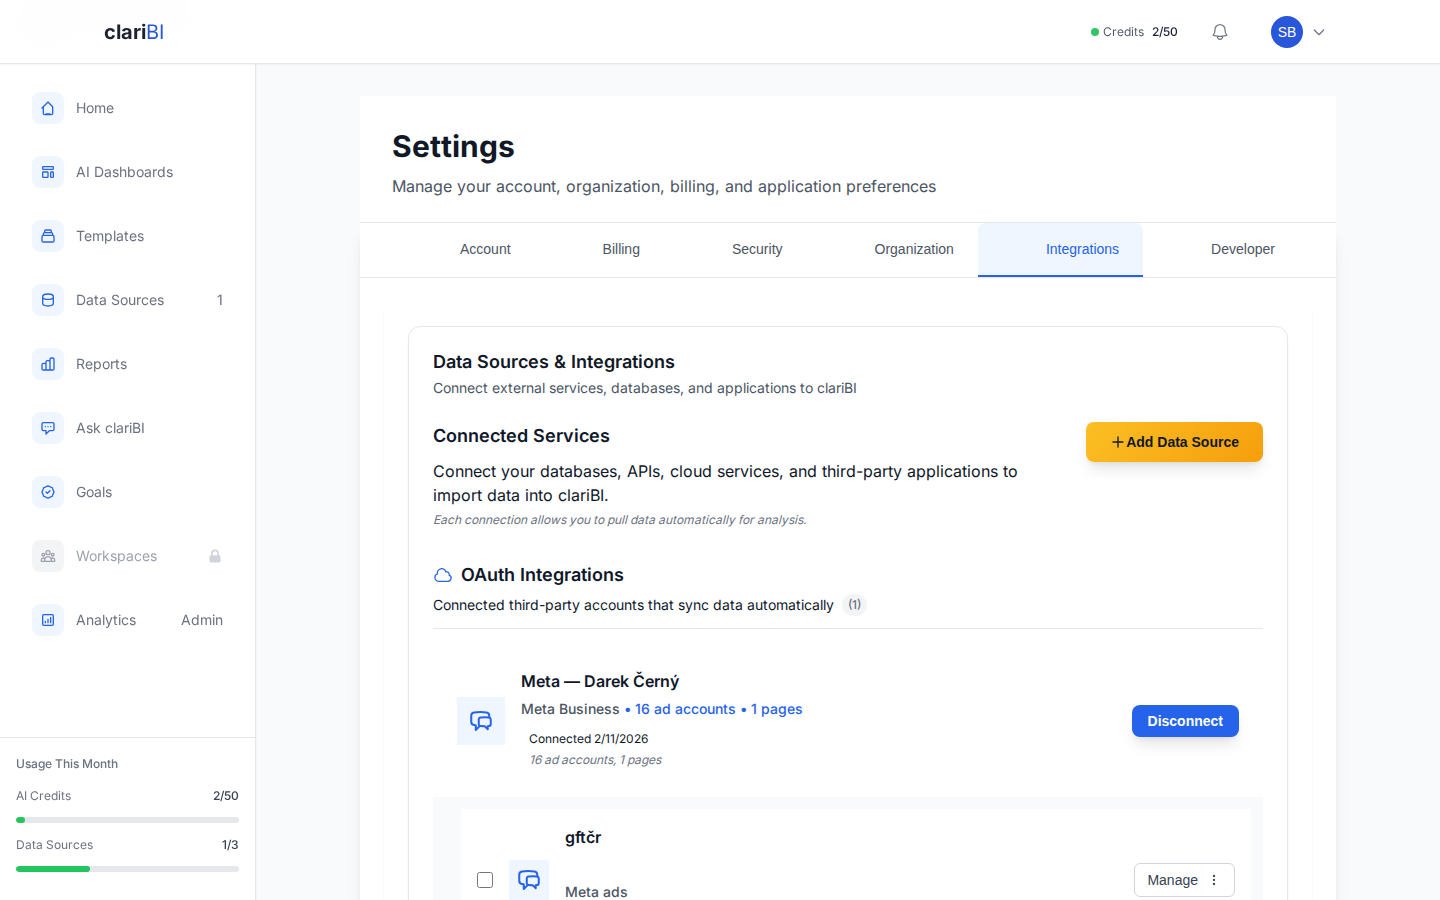
Disconnecting an Ad Account
- Go to Data Sources.
- Click the three-dot menu next to the ad data source.
- Select Disconnect.
- Confirm the disconnection.
Disconnecting removes the sync but does not delete previously imported data. Dashboards and reports using the data continue to show historical information, but no new data is pulled.
Revoking Access from the Ad Platform
You can also revoke clariBI's access from within Google or Meta:
- Google: Go to myaccount.google.com/permissions and remove clariBI.
- Meta: Go to Facebook Settings > Business Integrations and remove clariBI.
After revoking, the data source in clariBI shows an authentication error and stops syncing.
Troubleshooting
"Insufficient Permissions" Error
You need admin or standard access to the ad account. If you have analyst or reporting access only, ask an account admin to upgrade your permissions or connect the account themselves.
No Data After Sync
- Check that the selected date range includes dates with active campaigns.
- Verify that the correct ad account was selected (not a test or inactive account).
- Wait for the initial sync to complete -- it may take several minutes for large accounts.
Metrics Discrepancy
Small differences between clariBI and the native ad platform are normal due to:
- Attribution windows -- Make sure the attribution window in clariBI matches the one in your ad platform.
- Time zones -- clariBI uses your organization's time zone. Check that it matches the ad account's time zone.
- Sync timing -- Data may be delayed by up to 3 hours depending on the ad platform's reporting API.
For significant discrepancies, check the sync log in Data Sources > [Source] > Sync History.