PostgreSQL is one of the most common databases used by SaaS companies, startups, and growing businesses. Connecting it to clariBI takes about 10 minutes and gives you instant access to query your data through natural language, build dashboards, and set up automated reports. This walkthrough covers every step, including the recommended approach of creating a dedicated read-only database user for security.
Before You Start
You will need the following information about your PostgreSQL database:
- Host: The server address (e.g.,
db.yourcompany.comor an IP address like10.0.1.50) - Port: Usually
5432(the PostgreSQL default) - Database name: The specific database you want to connect (e.g.,
production,analytics) - Username and password: Credentials with read access to the tables you want to analyze
If your database is hosted on a cloud provider (AWS RDS, Google Cloud SQL, Azure Database, DigitalOcean Managed Databases), you will also need to configure network access to allow connections from clariBI. We cover this below.
Step 1: Create a Read-Only Database User (Recommended)
We strongly recommend creating a dedicated read-only user for clariBI rather than using your application's database credentials. This follows the principle of least privilege - clariBI only needs to read data, not modify it.
Connect to your PostgreSQL database with an admin user and run the following commands:
-- Create the read-only user
CREATE USER claribi_reader WITH PASSWORD 'your_secure_password_here';

-- Grant connect privilege on the target database
GRANT CONNECT ON DATABASE your_database_name TO claribi_reader;

-- Grant usage on the public schema (or whichever schema your tables use)
GRANT USAGE ON SCHEMA public TO claribi_reader;

-- Grant SELECT on all existing tables
GRANT SELECT ON ALL TABLES IN SCHEMA public TO claribi_reader;

-- Grant SELECT on future tables (so new tables are automatically accessible)
ALTER DEFAULT PRIVILEGES IN SCHEMA public GRANT SELECT ON TABLES TO claribi_reader;
Replace your_database_name with your actual database name and set a strong password. This user can read all tables but cannot insert, update, delete, or modify the schema in any way.
Step 2: Configure Network Access
Your database needs to accept connections from clariBI's servers. The exact steps depend on where your database is hosted:
AWS RDS
- Open the AWS Console and navigate to your RDS instance
- Click on the security group associated with your instance
- Add an inbound rule: Type = PostgreSQL, Port = 5432, Source = clariBI's IP range (shown in the connection dialog in clariBI)
- Save the security group changes
Google Cloud SQL
- Open the Cloud SQL instance in the Google Cloud Console
- Go to Connections > Networking
- Add clariBI's IP address to the Authorized Networks list
- Save and wait for the changes to propagate (usually under a minute)
DigitalOcean Managed Databases
- Open your database cluster in the DigitalOcean control panel
- Go to Settings > Trusted Sources
- Add clariBI's IP address
- Save the configuration
Self-Hosted PostgreSQL
If you manage your own PostgreSQL server, you need to:
- Edit
pg_hba.confto allow connections from clariBI's IP address with MD5 or scram-sha-256 authentication - Ensure
postgresql.confhaslisten_addressesset to allow external connections (not justlocalhost) - Open port 5432 in your firewall
- Restart PostgreSQL to apply changes
Step 3: Add the Connection in clariBI
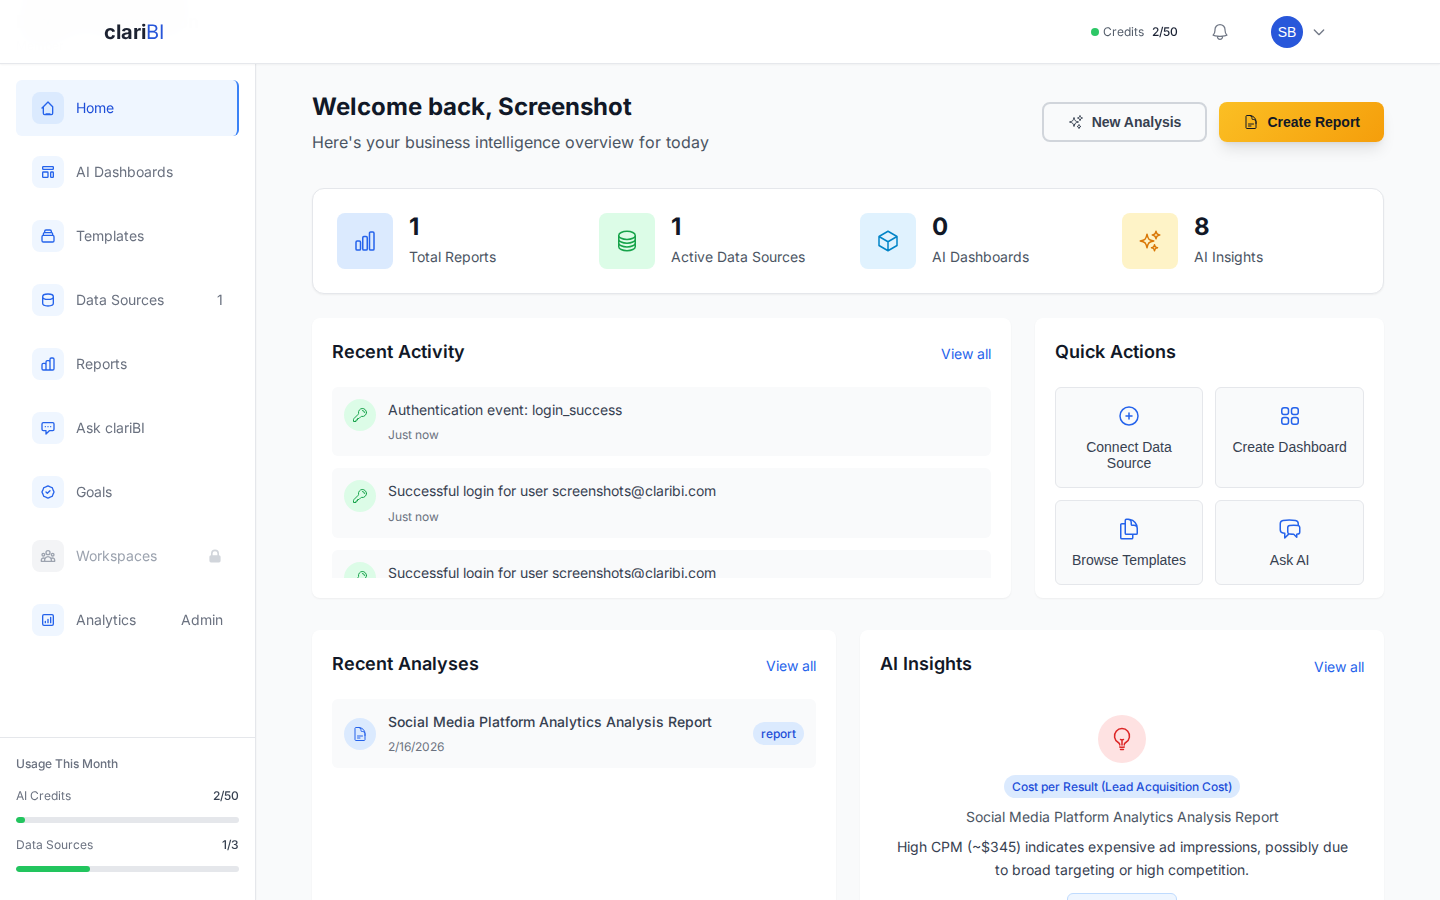
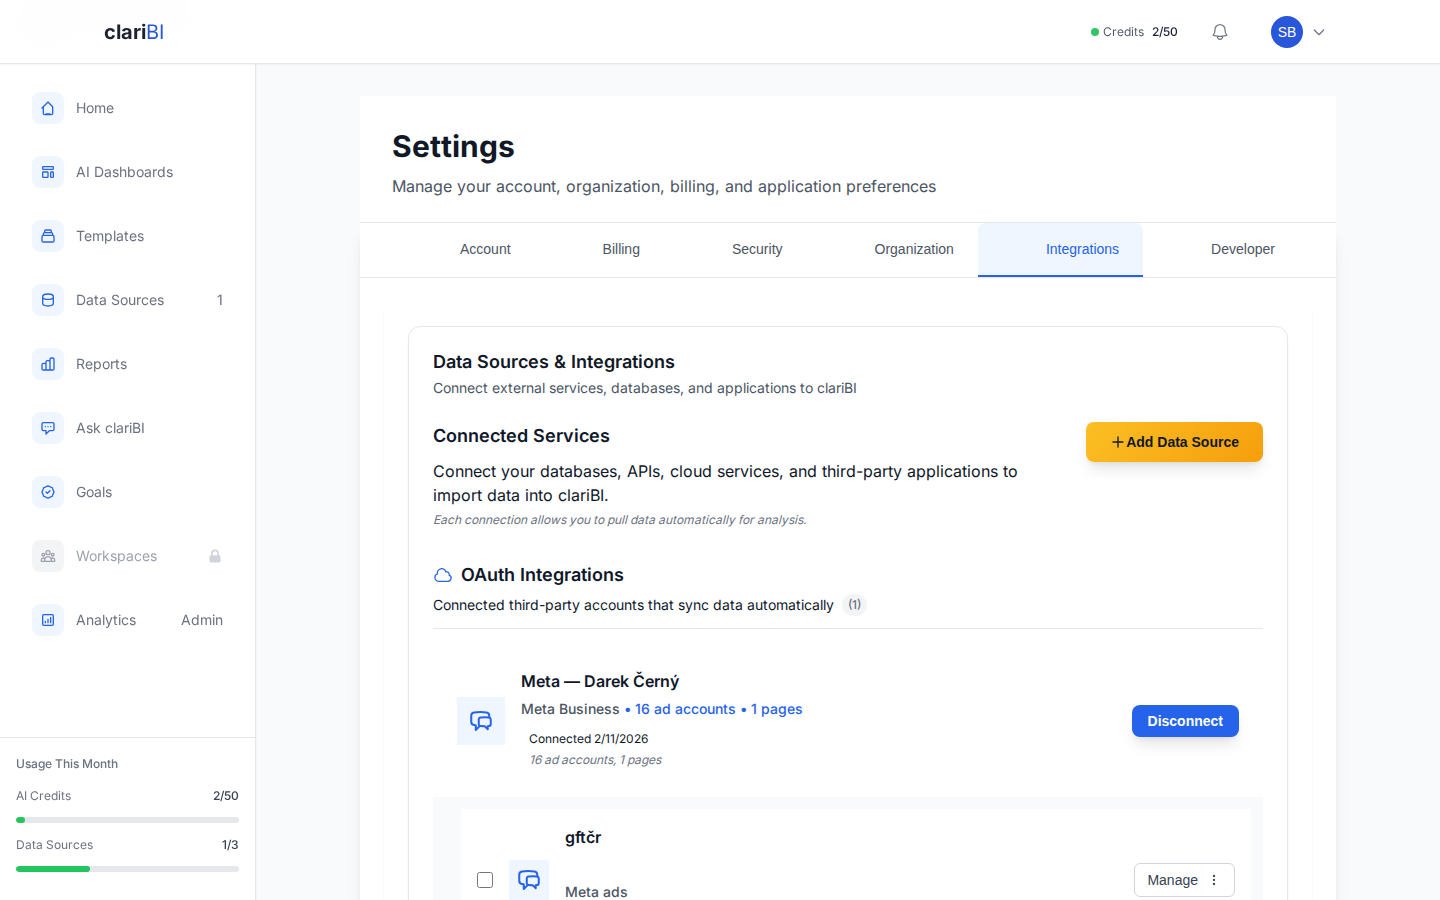
- Log in to clariBI and navigate to Settings > Data Sources
- Click Add Data Source
- Select PostgreSQL from the list of available connectors
- Enter your connection details:
- Host: your database server address
- Port: 5432 (or your custom port)
- Database: your database name
- Username:
claribi_reader(or whatever you named the read-only user) - Password: the password you set in Step 1
- Click Test Connection to verify that clariBI can reach your database
- If the test succeeds, click Save
Step 4: Verify and Explore Your Data
After connecting, clariBI will discover the tables available through your read-only user. You can:
- Browse the table list to verify that the expected tables appear
- Use the conversational AI to ask questions immediately: "How many rows are in the customers table?" or "Show me the total revenue by month for the last 12 months"
- Start building a dashboard using the dashboard creation guide
Troubleshooting Common Issues
Connection Timed Out
The most common issue. Usually means network access is not configured correctly. Verify:
- clariBI's IP address is allowed in your database's security group or firewall
- The port is correct (5432 unless you changed it)
- The host address is the public/external address, not an internal/private address
- Your database is not inside a VPN that blocks external access
Authentication Failed
The username or password is incorrect. Double-check:
- The username matches exactly what you created (PostgreSQL usernames are case-sensitive)
- The password is correct (try connecting with
psqlfrom your own machine to verify) - The
pg_hba.confallows the authentication method you expect (MD5 or scram-sha-256)
No Tables Visible
The connection succeeded but clariBI does not show any tables. This usually means the user does not have SELECT permission on the tables. Verify:
- You ran the
GRANT SELECTcommands from Step 1 - The tables are in the
publicschema (if they are in a different schema, grant USAGE and SELECT on that schema instead) - There are no row-level security policies blocking access
SSL Required
Some cloud database providers require SSL connections. If you see an SSL-related error, check the SSL option in the clariBI connection form and ensure it is enabled. Most managed database services provide SSL by default.
Best Practices
- Always use a read-only user. Never connect a BI tool with write-capable credentials. One accidental query should not be able to modify production data.
- Use a connection to a replica if available. If you have a read replica, connect clariBI to the replica rather than the primary database. This ensures analytics queries do not compete with your application for resources.
- Rotate credentials periodically. Update the read-only user's password on a regular schedule and update it in clariBI's connection settings.
- Monitor query load. If clariBI's queries impact database performance, consider setting a statement timeout on the read-only user:
ALTER USER claribi_reader SET statement_timeout = '30s';
Once connected, you have full access to build dashboards, run conversational queries, and create automated reports from your PostgreSQL data. For next steps, see the complete data sources documentation or jump directly to building your first dashboard.