Overview
Scheduled reports run automatically at the time and frequency you configure. Each run generates a fresh report using the latest data, delivers it to your chosen recipients, and saves it to your Reports list.
Available on Professional and Enterprise plans.
Creating a Scheduled Report
Step 1: Start from the Report Generator
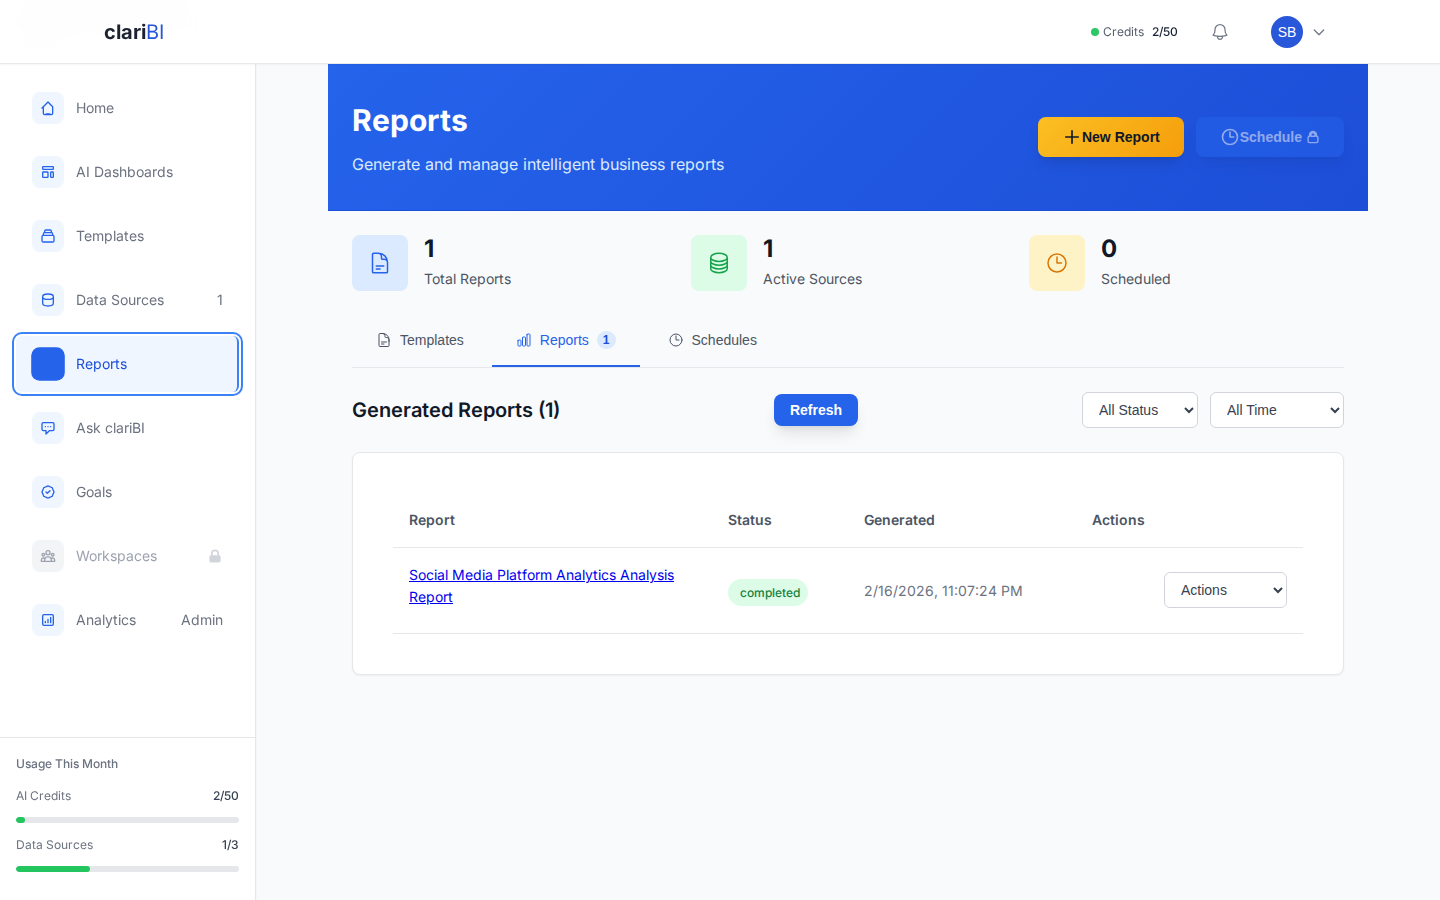
Click Reports > + New Report. Configure the report as usual (data source, template, date range, sections). See Generating a Report for details.
Step 2: Choose "Schedule" Instead of "Generate Now"
Instead of clicking Generate Report, click Schedule Report. The scheduling panel opens.
Step 3: Configure the Schedule
| Setting | Options |
|---|---|
| Frequency | Daily, Weekly, Monthly, Custom cron expression |
| Day (weekly) | Monday through Sunday |
| Day (monthly) | 1st through 28th, or "Last day of month" |
| Time | Any time in 30-minute increments |
| Time Zone | Your organization's time zone (set in Settings > Organization) |
Step 4: Configure Delivery
Recipients -- add email addresses. Recipients do not need to have a clariBI account (the report is delivered as an attachment or link).
Delivery format:
| Format | Description |
|---|---|
| Email with PDF | The report is generated and attached as a PDF |
| Email with link | The email contains a link to view the report in clariBI (requires login) |
| Email with both | PDF attachment and a link |
Subject line -- customize the email subject. Variables are available: {report_name}, {date}, {frequency}.
Example: "Weekly Sales Report - {date}" becomes "Weekly Sales Report - 2025-02-03"
Step 5: Save the Schedule
Click Save Schedule. The report runs at the next scheduled time.
Managing Scheduled Reports
Viewing All Schedules
Go to Reports > Scheduled tab. This shows all scheduled reports with:
- Report name
- Frequency and next run time
- Last successful run
- Status (active, paused, failed)
- Recipients
Editing a Schedule
Click a scheduled report to open its settings. You can change:
- The schedule (frequency, day, time)
- Recipients
- Delivery format
- The report configuration (data source, template, sections)
Pausing and Resuming
Click the Pause button to temporarily stop a schedule without deleting it. Click Resume to restart it. Paused schedules skip their next run time and wait until resumed.
Deleting a Schedule
Click Delete Schedule. This removes the automation but does not delete previously generated reports.
How Credits Work with Scheduled Reports
Each scheduled run consumes AI credits just like a manual report generation (typically 1 credit). Credits are deducted from your organization's monthly allowance.
If your organization runs out of credits, scheduled reports will fail until credits are replenished. The owner and administrators receive an email notification when a scheduled report fails due to credit exhaustion.
Estimating Monthly Credit Usage
To calculate how many credits your schedules will consume:
| Frequency | Runs per Month | Credits per Run | Monthly Cost |
|---|---|---|---|
| Daily | ~30 | 1 | ~30 credits |
| Weekly | ~4 | 1 | ~4 credits |
| Monthly | 1 | 1 | 1 credit |
If you have 5 daily scheduled reports, that is approximately 150 credits per month -- well within the Professional plan's 1,500-credit allowance but something to plan for.
Advanced Scheduling with Cron Expressions
For schedules that do not fit daily, weekly, or monthly patterns, use a custom cron expression:
| Expression | Meaning |
|---|---|
0 8 * * 1-5 |
Every weekday at 8:00 AM |
0 6 1,15 * * |
1st and 15th of every month at 6:00 AM |
0 */6 * * * |
Every 6 hours |
0 9 * * MON |
Every Monday at 9:00 AM |
Enter the cron expression in the Custom field when configuring the schedule frequency. The schedule preview shows the next 5 run times so you can verify it is correct.
Notification Settings for Scheduled Reports
Configure what happens when a scheduled report completes or fails:
| Notification | Default | Configurable |
|---|---|---|
| Email delivery to recipients | On | Yes -- toggle per schedule |
| In-app notification to creator | On | Yes |
| Email alert on failure | On (to admins) | Yes -- add additional recipients |
Troubleshooting
Report Not Delivered
- Check the Scheduled tab for the status. If it shows "Failed," click the report for the error message.
- Verify recipient email addresses are correct.
- Check spam/junk folders for the delivery email.
- Confirm your organization has remaining AI credits.
Report Contains Stale Data
Scheduled reports use data as of the run time. If your data source syncs daily at 6:00 AM and the report runs at 5:00 AM, it uses yesterday's sync. Adjust the report schedule to run after the data source sync completes.
Wrong Time Zone
Reports run according to your organization's time zone. Verify it in Settings > Organization > Time Zone. Individual user time zones do not affect scheduled report times.