What Are Public Report Links?
A public report link is a URL that anyone can use to view a read-only version of a report -- no clariBI account required. This is useful for sharing reports with clients, executives who do not use clariBI, or external stakeholders.
Available on Professional and Enterprise plans.
Generating a Public Link
Step 1: Open the Report
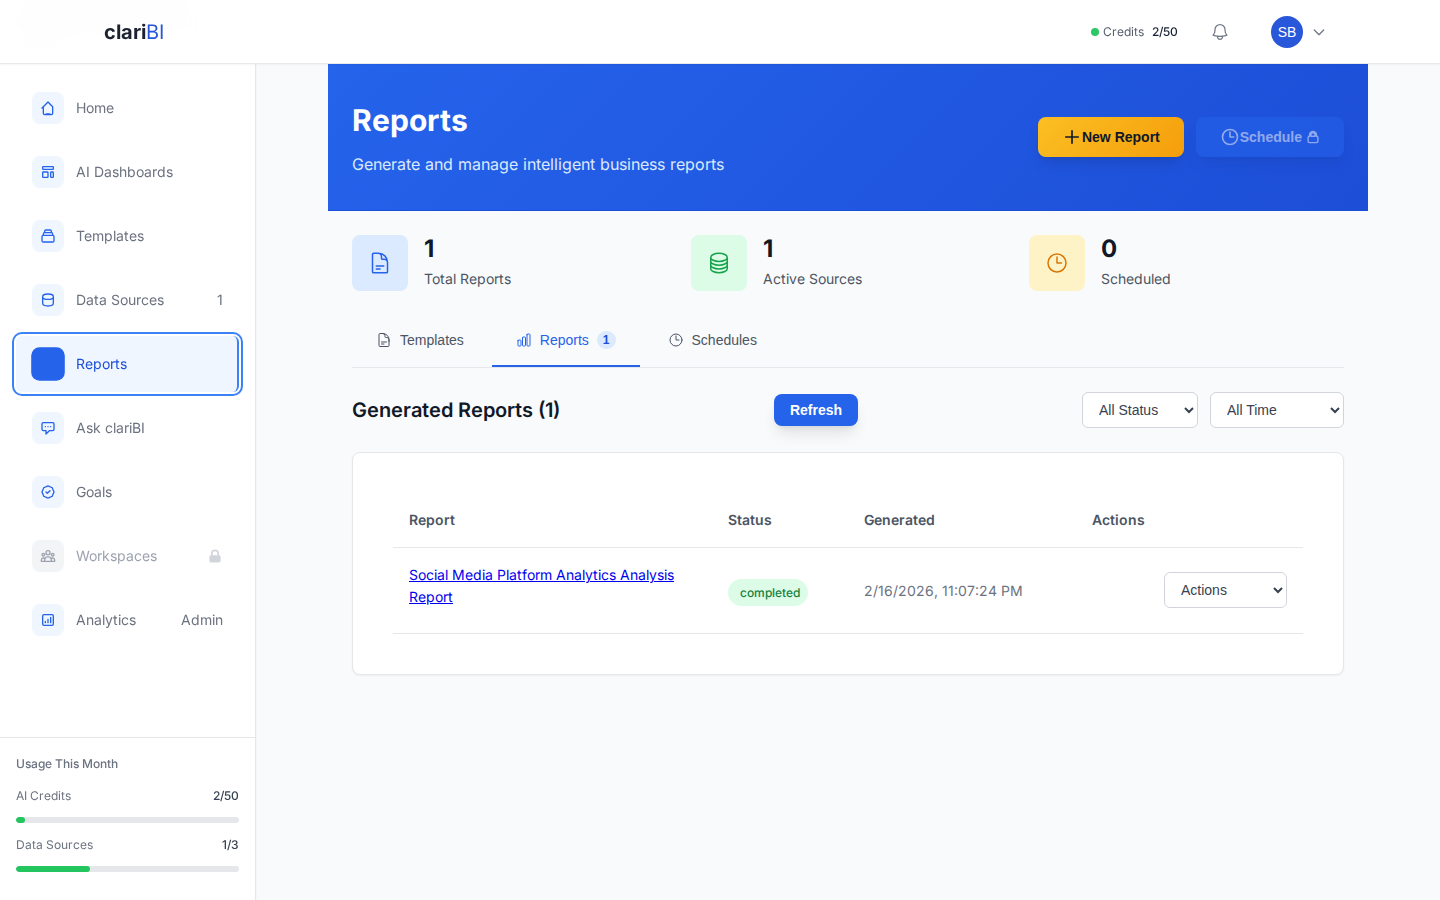
Navigate to Reports and open the report you want to share.
Step 2: Click Share
Click the Share button in the toolbar, then click Create Public Link.
Step 3: Configure Link Settings
| Setting | Options | Default |
|---|---|---|
| Expiration | Never, 7 days, 30 days, 90 days, Custom date | 30 days |
| Password Protection | On/Off | Off |
| Allow Download | On/Off (controls if viewers can export the report) | Off |
Step 4: Generate and Copy
Click Generate Link. The URL is generated and displayed. Click Copy to copy it to your clipboard.
The URL format is: https://claribi.com/public/report/{unique-id}
What Public Viewers See
When someone opens a public report link, they see:
- The full report content (executive summary, findings, charts, recommendations)
- Interactive charts (hover for tooltips, click for details)
- A "Powered by clariBI" footer with a link to learn more
They do not see:
- The clariBI navigation or sidebar
- Other reports, dashboards, or data sources
- Editing controls
- The underlying raw data (unless you enabled "Allow Download")
Password Protection
When password protection is enabled:
- Visitors see a password prompt before the report loads.
- Enter the password you set during link creation.
- Once entered, the report displays normally.
- The password is session-based -- closing the browser requires re-entry.
To share the password, send it separately from the link (e.g., link via email, password via chat). This adds a layer of security.
Access Tracking
Every public link tracks views. To see access data:
- Open the report.
- Click Share > Manage Links.
- Each link shows:
- Total view count
- Last accessed timestamp
- Viewer IP addresses (hashed for privacy on non-Enterprise plans; full IPs on Enterprise)
- Browser and device type
This data helps you understand who is viewing the report and how often.
Managing Links
Multiple Links for One Report
You can create multiple public links for the same report with different settings. For example:
- A no-expiration link for internal stakeholders
- A 7-day link with password for a client review
Each link is independent -- revoking one does not affect others.
Updating Link Settings
Click Share > Manage Links and click the settings icon next to a link. You can change the expiration date, toggle password protection, or change the download permission without generating a new URL.
Revoking a Link
Click Share > Manage Links and click Revoke next to the link. The URL immediately stops working. Anyone who tries to access it sees: "This link is no longer available."
Revoking cannot be undone. You would need to create a new link.
Expiration Behavior
When a link expires:
- The URL stops working and shows a "This link has expired" message.
- The report itself is not affected (it remains in your Reports list).
- You can create a new link with a new expiration if needed.
Security Considerations
- Public links expose report content to anyone with the URL. Only share reports that are safe for the intended audience.
- Use password protection for sensitive reports.
- Set short expiration dates for time-sensitive information.
- Audit access logs periodically to detect unexpected viewers.
- Revoking a link is immediate and permanent.